hot glue & love
DIY that’s actually worth making.
Signs, centerpieces and little details worth making yourself. And we’ll tell you when one isn’t worth the hassle.
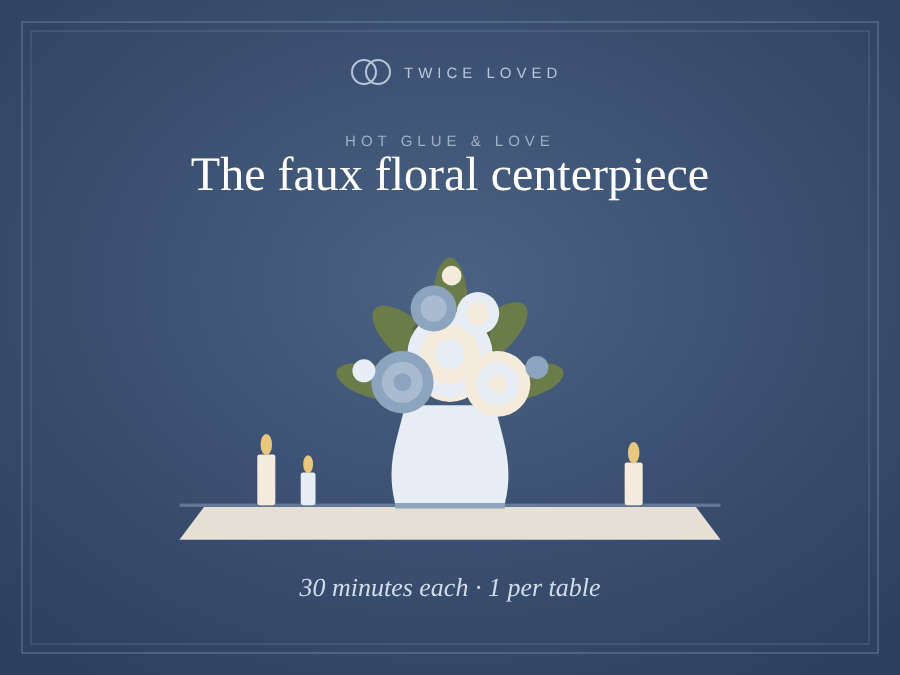
the centerpiece
Faux floral arrangements
Buy the vessels, make the flowers. Vessels are cheap used. Spend your time on the flowers.
step by step
Projects worth making
These are the same projects your plan suggests. In your plan they’re in your colors and sized for your guest count. Quantities below are an illustrative example: 100 guests at tables of 8 (13 tables)
Faux floral arrangements
- Faux flowers in your accent color and white
- Greenery stems
- Floral foam or a frog
- Vessels you already chose
- Wire cutters
- Build a triangle with three tall greenery stems first.
- Add your largest blooms low and slightly off center.
- Fill gaps with smaller blooms, turning the vase as you go.
- Finish with a few airy stems so it looks gathered, not stiff.
- Make one sample first, take a photo and copy it for the rest.
Tip: Faux flowers for 13 tables can be made months ahead and resold after.
Full greenery garland
- Faux eucalyptus stems
- Faux flowers in your accent color
- Floral wire and wire cutters
- Low-temp hot glue gun
- 1/4" jute or ribbon base cord in your main color
- Cut the base cord to length, plus 12 inches for tying.
- Snip eucalyptus into 6–8 inch pieces. Lay them all facing one direction.
- Wire the first bundle to the cord, then overlap each new bundle to hide the last stem.
- Every 10 inches, hot glue a flower cluster so it looks full from the front.
- Fluff and bend stems so nothing looks flat. Store it loosely coiled in a box.
Tip: Buy faux stems after holidays and in spring sales. They often drop 40–60%.
Cheesecloth runners
- Cheesecloth by the yard (13 runners)
- Fabric dye in your main color (optional)
- Spray bottle
- Cut each runner to table length plus 2 feet each side.
- Dye in a bucket if you want color, then rinse and air dry.
- Scrunch it while damp for the airy, wrinkled look.
Tip: Do not iron cheesecloth. The wrinkles are the look.
Wrapped votives
- 78 clear votive holders
- Ribbon or twine in your main color
- Hot glue
- LED tea lights for venues that ban flame
- Wrap ribbon once around the middle of each holder.
- Glue the end on the back seam.
- Line them up on a tray by table so setup is fast.
Tip: Ask your venue about open-flame rules before buying candles.
Napkin ties
- Ribbon in your main color (about 18 inches per napkin)
- Eucalyptus or rosemary sprigs
- Fold each napkin into a long rectangle.
- Tie ribbon around the middle in a simple knot.
- Tuck a sprig under the knot.
Tip: Rosemary smells amazing and costs less than florals.
Table numbers
- 13 frames or acrylic blocks
- Printed numbers or vinyl decals in your metal color
- Small floral sprigs
- Print numbers in the same font as your other signs.
- Slide them into frames, or press vinyl numbers onto acrylic.
- Add a tiny floral sprig to the corner of each.
Tip: Thrift-store frames spray-painted one color look custom.
Hand-lettered welcome sign
- Pre-loved mirror, board or acrylic sheet
- Paint pen or vinyl lettering in white or your metal color
- Pencil and a printed stencil of your names
- Rubbing alcohol and a soft cloth
- Easel (borrow one)
- Clean the surface with rubbing alcohol so the paint grips.
- Print your welcome text full size and tape it behind (glass or acrylic) or trace it lightly (wood).
- Go over the letters slowly in one smooth stroke each.
- Let it dry overnight, then remove the paper and any pencil.
- Add a small floral spray to one corner with clear command strips.
Tip: A $15 thrift-store mirror becomes a $150-looking sign.
Card box in your colors
- Pre-loved box, chest, lantern or birdcage
- Spray paint in your metal color or white
- Ribbon in your main color
- Small "Cards" sign or tag
- Small padlock (optional)
- Clean it and spray two light coats outside. Let it dry fully.
- If it has no slot, have someone cut one 6 x 1 inches in the lid.
- Wrap ribbon around the base and finish with a bow.
- Add a few faux flowers to one corner.
- Hang the tag and add a lock if the venue is busy.
Tip: Assign one person to take it home at the end of the night.
Draping that looks expensive
- Chiffon or voile panels in your accent color (20 ft each)
- Clear zip ties
- Safety pins
- Fabric steamer
- Steam the panels the night before and hang them so they stay smooth.
- Find the center of each panel and zip-tie it to the top corner of the arch or frame.
- Let one side pool on the ground and swoop the other across the top.
- Pin hidden folds so the drape stays put in a breeze.
- Tuck florals over the zip ties.
Tip: Panels resell fast after the wedding. List them the week after.
Lantern florals
- Pre-loved lanterns
- LED pillar candles
- Small faux floral sprays in your accent color
- Floral wire
- Set an LED pillar inside each lantern.
- Wire a spray of flowers to the top or base handle.
- Tuck a little greenery around the base.
Tip: Lanterns are one of the most-resold wedding items. Buy used and resell after.
is it worth making?
Skip these. Buy, borrow or rent instead.
Some projects cost more time than they save. Your plan flags these for you.
- TableclothsSewing or hemming dozens of linens takes far longer than it saves.
- Centerpiece vesselsVessels are cheap used. Spend your time on the flowers.
- Arch or arborA sturdy arch is hard to build safely. Pre-loved arches are everywhere after wedding season.
- String or bistro lightsBuy or rent. Wiring your own lights isn’t worth the risk.
- Aisle runnerStore-bought runners are cheap and lie flat.
- Hurricane glassesGlass is the easiest thing to find secondhand.
- ChargersChargers are one of the most-resold wedding items. Buy used.
- Photo display framesMismatched thrift frames painted one color look great.
ready?
Get the projects sized for your day.
Your plan picks the projects worth making for your wedding, in your colors, with exact quantities.
Build my wedding vision